When Grinding, You Also Have to Measure. Those Who Can Measure Well Have a Clear Advantage.
Measuring as a quality assurance tool is a crucial element during the grinding process. The integration of measurement technology into the production process is fundamental. That is why UNITED GRINDING invests in the development and manufacture of specific measuring solutions for grinding.
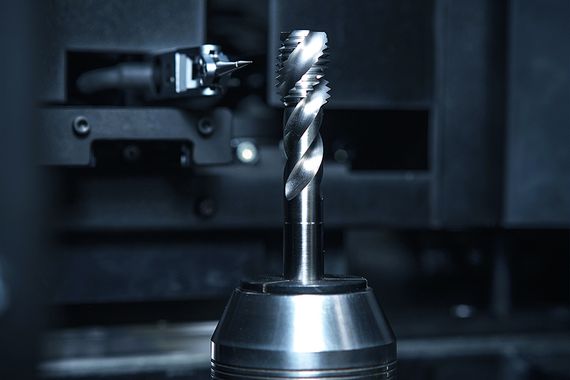
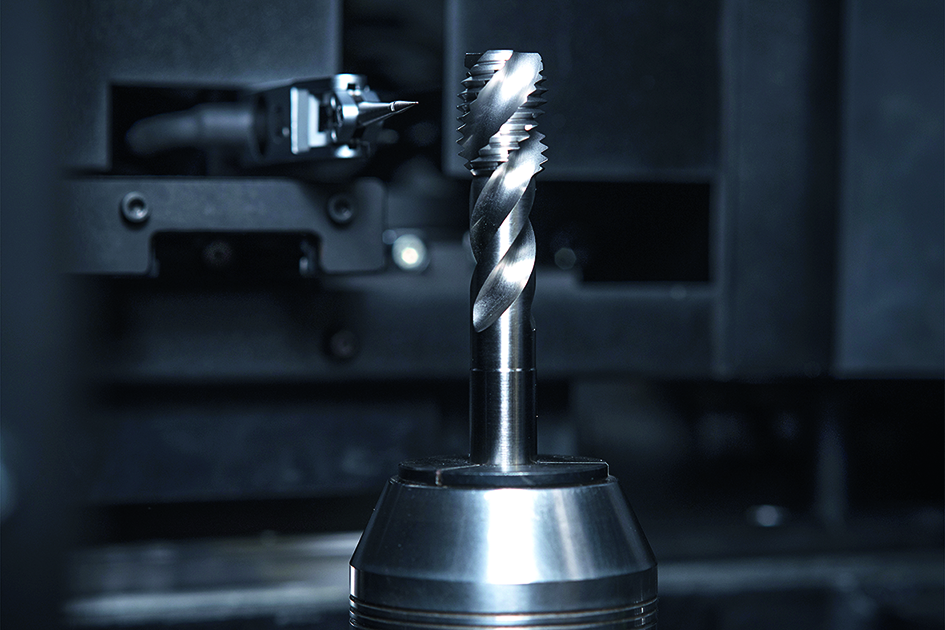
It only takes a few simple steps and the milling tool is already clamped in place. The actual measurement can be started even faster. With just three clicks on the touchscreen, the highly precise measurement of the tool runs on its own – thanks to the "Quick Assistant". The complete measurement of a cylindrical milling cutter is a complex process in which dozens of features are recorded. The WALTER HELICHECK PLUS, a measuring machine, is equipped with two transmitted light cameras – one reflected-light and one front-light camera - as well as three tactile probes. Together with sophisticated software, these comprehensive devices ensure the required results. Previously, the machine operator had to cope with a variety of settings before cameras and probes performed their work. With the Innovation Quick Assistant, this marathon is now successfully shortened: Two clicks to select the tool family and tool type and press Start – the HELICHECK PLUS automatically performs the extensive measuring tasks. |
Application-Specific Measurement Options
UNITED GRINDING equips its machines with in-process measuring systems from renowned manufacturers and adapts them to the requirements of the machines. The software is integrated into the user interface of the machines. The decisive factor in grinding is the implementation of the measurement technology in the production process. From challenges such as installation capability and accessibility to factors such as cleanliness and temperature, there are numerous details to consider. In surface and profile grinding, there are also extreme requirements for accuracy and quality – in this case, work is carried out with a precision range that is almost impossible to depict.
Challenge: New Materials
Modern materials such as carbon-fiber and glass-fiber reinforced plastics, titanium, Inconel (a nickel-based alloy), and other heat-resistant superalloys (HRSA) place new demands on grinding and measurement technology. HRSA are extremely corrosion-resistant materials and retain their hardness and strength at high temperatures: They are used at temperatures up to 1000 °C and hardened in an aging process. Such materials generally have poor machinability. Here you have to adapt to other properties when machining and measuring and generate new solutions by adjusting the tool geometry, for example in chip flute design and cutting edge formation.
To this end, UNITED GRINDING has developed instruments that make measurements possible within the machine, thus correcting and stabilizing the production process. The measuring machine acts as an arbitrator compares with an ideal part and approves the process. The measuring machine can also issue test certificates on request.
Applications With Potential


Around 95 percent of WALTER's measuring machines are currently used in the field of tool grinding. However, the application options of the machines are to be further expanded. As the measuring machines are focused on rotationally symmetrical parts such as cutters or drills, their use in cylindrical grinding is evident. The additive manufacturing specialist IRPD also offers the right measuring machine from WALTER in addition to its sophisticated additive manufacturing solutions. For this purpose, the company uses the measuring machines for quality assurance in the area of initial sampling and comparative measurement, in order to rule out deviations between master and copy. At least details can be measured during surface and profile grinding. A HELICHECK measuring machine can also be used here.
3D Image of Tools
The WALTER HELICHECK 3D generates a complete three-dimensional image of tools. A laser creates one complete front scan and one top scan in less than two minutes. A cloud of millions of points very quickly creates a real image of the tool. This allows the most important parameters of the tool to be analyzed. 3D models can also be compared by overlaying them. An innovative feature is an intuitive and simple operation provided by the Quick Assistant mentioned above. Complete measurement results in just three clicks – maximum performance made easy.
Would You Like to Find Out More?
Are you interested in UNITED GRINDING's measurement solutions? Our experts will be happy to advise you.
The original article was published in the Motion Magazine of the UNITED GRINDING Group in November 2017.


